react-three-fiber

three.js是基于webgl封装的3D绘图JS引擎,react-three-fiber对three.js进一步封装,使其在react框架中能快速使用。

一、基础知识

1.Canvas

canvas组件,three.js的入口,渲染three.js元素。(用来包裹所有three.js元素,创建上下文)。
可传入style,className等属性,作用于canvas画布的父盒子dom。

1
2
3
4
5
6
7
8
9
10
11
12
13
14
15
16
17
18
<Canvas
children // 子组件
gl // 使用webGL-renderer渲染器
camera // 相机
raycaster // 光影投射,用于拾取鼠标选中物体的信息
shadowMap // 渲染器开启阴影渲染,Props that go into gl.shadowMap, can also be set true for PCFsoft
colorManagement = true // Auto sRGBEncoding encoding for all colors and textures + ACESFilmic
vr = false // Switches renderer to VR mode, then uses gl.setAnimationLoop
webgl1 = false // 渲染器,Forces THREE to WebGL1, instead of WebGL2 (default)
concurrent = false // react concurrent模式
resize = undefined // Resize config, see react-use-measure's options
orthographic = false // 正交投影相机
noEvents = false // Switch off raytracing and event support
pixelRatio = undefined // Default: 1. Use window.devicePixelRatio, or automatic: [min, max]
invalidateFrameloop = false // When true it only renders on changes, when false it's a game loop
updateDefaultCamera = true // Adjusts default camera on size changes
onCreated // Callback when vdom is ready (you can block first render via promise)
onPointerMissed /> // Response for pointer clicks that have missed a target

Canvas默认设置
(1)半透明的WebGL-renderer渲染器:

antialias=true
alpha=true
powerPreference=”high-performance”
setClearAlpha(0)

(2)透视相机perspective:fov: 75, near: 0.1, far: 1000, z: 5, lookAt: [0,0,0]
(3)当orthographic正交投影为true时,生成正交相机orthographic:near: 0.1, far: 1000, z: 5, lookAt: [0,0,0]
(4)shadowMap为true时,type为PCFSoftShadowMap(在点光源下的阴影都是马赛克,使用Percentage-Closer Soft Shadows (PCSS)算法来过滤阴影映射,看起来更清晰)
(5)默认场景scene和光影投射raycaster
(6)A wrapping container with a resize observer: scroll: true, debounce: { scroll: 50, resize: 0 }

2.对象和属性

(1)可以使用three.js的所有对象和属性
(2)每个对象的每个属性都有.set()方法,所以可以传字符串代替传一个实例

1
2
3
4
//直接传hotpink
<meshStandardMaterial color="hotpink" transparent />
//代替new THREE.Color('hotpink')
<meshStandardMaterial color={new THREE.Color('hotpink')} transparent />
3.自动释放资源

卸载对象时自动调用dispose方法,释放资源,假如不想释放,可设置属性dispose={null}

1
<mesh dispose={null} />
4.事件

(1)除了对象本身实现的方法,还提供了pointer指针事件,click点击事件,wheel-scroll滚轮事件
(2)onUpdate,对象props变化时调用

1
2
3
4
5
6
7
8
9
10
11
12
13
14
15
16
17
18
19
20
21
22
23
24
25
26
27
28
29
30
31
32
33
34
35
36
<mesh
onClick={(e) => console.log('click')}
onContextMenu={(e) => console.log('context menu')}
onDoubleClick={(e) => console.log('double click')}
onWheel={(e) => console.log('wheel spins')}
onPointerUp={(e) => console.log('up')}
onPointerDown={(e) => console.log('down')}
onPointerOver={(e) => console.log('over')}
onPointerOut={(e) => console.log('out')}
onPointerEnter={(e) => console.log('enter')}
onPointerLeave={(e) => console.log('leave')}
onPointerMove={(e) => console.log('move')}
onUpdate={(self) => console.log('props have been updated')}
/>

//返回值:e的内容
({
...DomEvent // All the original event data
...ThreeEvent // All of Three's intersection data
intersections: Intersect[] // All intersections
object: Object3D // The object that was actually hit
eventObject: Object3D // The object that registered the event
unprojectedPoint: Vector3 // Camera-unprojected point
ray: Ray // The ray that was used to strike the object
camera: Camera // The camera that was used in the raycaster
sourceEvent: DomEvent // A reference to the host event
delta: number // Initial-click delta
}) => ...

//捕获、阻止冒泡
onPointerDown={e => {
// Only the mesh closest to the camera will be processed
e.stopPropagation()
// You may optionally capture the target
e.target.setPointerCapture(e.pointerId)
}}
5.Hooks

hooks只能在canvas里面使用,因为它依赖canvas创建的上下文

1
2
3
4
5
6
7
8
9
10
11
12
13
14
15
16
17
18
19
20
21
//错误用法
function App() {
const { size } = useThree()
return (
<Canvas>
<mesh />
</Canvas>
)
}

//正确用法
function SomeComponent() {
const { size } = useThree()
return <mesh />
}
function App() {
return (
<Canvas>
<SomeComponent />
</Canvas>
)}
(1)useThree

SharedCanvasContext,访问所有内部保存的基本对象,上下文内容,比如默认的渲染器、场景、摄像头、当前画布的大小

1
2
3
4
5
6
7
8
9
10
11
12
13
14
15
16
17
18
19
20
//获取相机信息
function Mesh(params) {
const { camera } = useThree()
console.log(camera);
return (
<mesh>
<sphereBufferGeometry />
<meshStandardMaterial color="hotpink" />
</mesh>
)
}

export default function Deom(params) {
return(
<Canvas>
<pointLight position={[10, 10, 10]} />
<Mesh />
</Canvas>
)
}

useThree()返回内容

(2)useFrame

每帧调用一次,相当于requestAnimationFrame,执行动画;返回的state与 useThree()返回内容一致,delta时钟增量;
当renderPriority渲染优先级大于0时,内容不会自动渲染,可自己控制组件的渲染
当组件卸载时,会自动移除这个钩子

1
useFrame((callback: (state, delta) => void), (renderPriority: number = 0))
(3)useResource

和react的useRef差不多,所以用useRef就好了吧

(4)useUpdate

当对象需要命令式更新时使用(例如,更新某些属性)

1
2
3
4
5
6
7
8
const ref = useUpdate(
(geometry) => {
geometry.addAttribute('position', getVertices(x, y, z))
geometry.attributes.position.needsUpdate = true
},
[x, y, z] // execute only if these properties change
)
return <bufferGeometry ref={ref} />
(5)useLoader

结合加载器使用,例如GLTFLoader,TextureLoader

二、举个栗子

使用react-three-fiber展示太阳系

在线沙盒:solarsystem

1
2
3
4
5
6
7
8
9
10
11
12
13
14
15
16
17
18
19
20
21
22
23
24
25
26
27
28
29
30
31
32
33
34
35
36
37
38
39
40
41
42
43
44
45
46
47
48
49
50
51
52
53
54
55
56
57
58
59
60
61
62
63
64
65
66
67
68
69
70
71
72
73
74
75
76
77
78
79
80
81
82
83
84
85
86
87
88
89
90
91
92
93
94
95
96
97
98
99
100
101
102
103
104
105
106
107
108
109
110
111
112
113
114
115
116
117
118
119
120
121
122
123
124
125
126
127
128
129
130
131
132
133
134
135
136
137
138
139
140
141
142
143
144
145
146
147
148
149
150
151
152
153
154
155
156
157
158
159
160
161
162
163
164
165
166
167
168
169
170
171
172
173
/* eslint-disable react-hooks/rules-of-hooks */
import React, { useRef, Suspense } from "react"
import { Canvas, useFrame, useThree, extend, useLoader } from 'react-three-fiber'
import * as THREE from 'three'
import { OrbitControls } from 'three/examples/jsm/controls/OrbitControls'
import sunIMage from "./images/sun_bg.jpg"
import bgImage from "./images/starry_sky_bg.jpg"
extend({ OrbitControls })

const starLitesConfig = [
{
name: "水星",
starLiteSize: 2,
starLiteRadius: 34,
speed: 0.02,
imgUrl: require("./images/mercury_bg.png")
},
{
name: "金星",
starLiteSize: 3,
starLiteRadius: 38,
speed: 0.018,
imgUrl: require("./images/venus_bg.png")
},
{
name: "地球",
starLiteSize: 3.2,
starLiteRadius: 42.2,
speed: 0.016,
imgUrl: require("./images/earth_bg.png")
},
{
name: "火星",
starLiteSize: 2.5,
starLiteRadius: 47.1,
speed: 0.014,
imgUrl: require("./images/spark_bg.png")
},
{
name: "木星",
starLiteSize: 35,
starLiteRadius: 71,
speed: 0.012,
imgUrl: require("./images/jupiter_bg.png")
},
{
name: "土星",
starLiteSize: 45,
starLiteRadius: 110,
speed: 0.01,
imgUrl: require("./images/saturn_bg.png")
},
{
name: "天王星",
starLiteSize: 17,
starLiteRadius: 158,
speed: 0.008,
imgUrl: require("./images/uranus_bg.png")
},
{
name: "海王星",
starLiteSize: 15,
starLiteRadius: 188,
speed: 0.006,
imgUrl: require("./images/neptune_bg.png")
}
]

const Controls = () => {
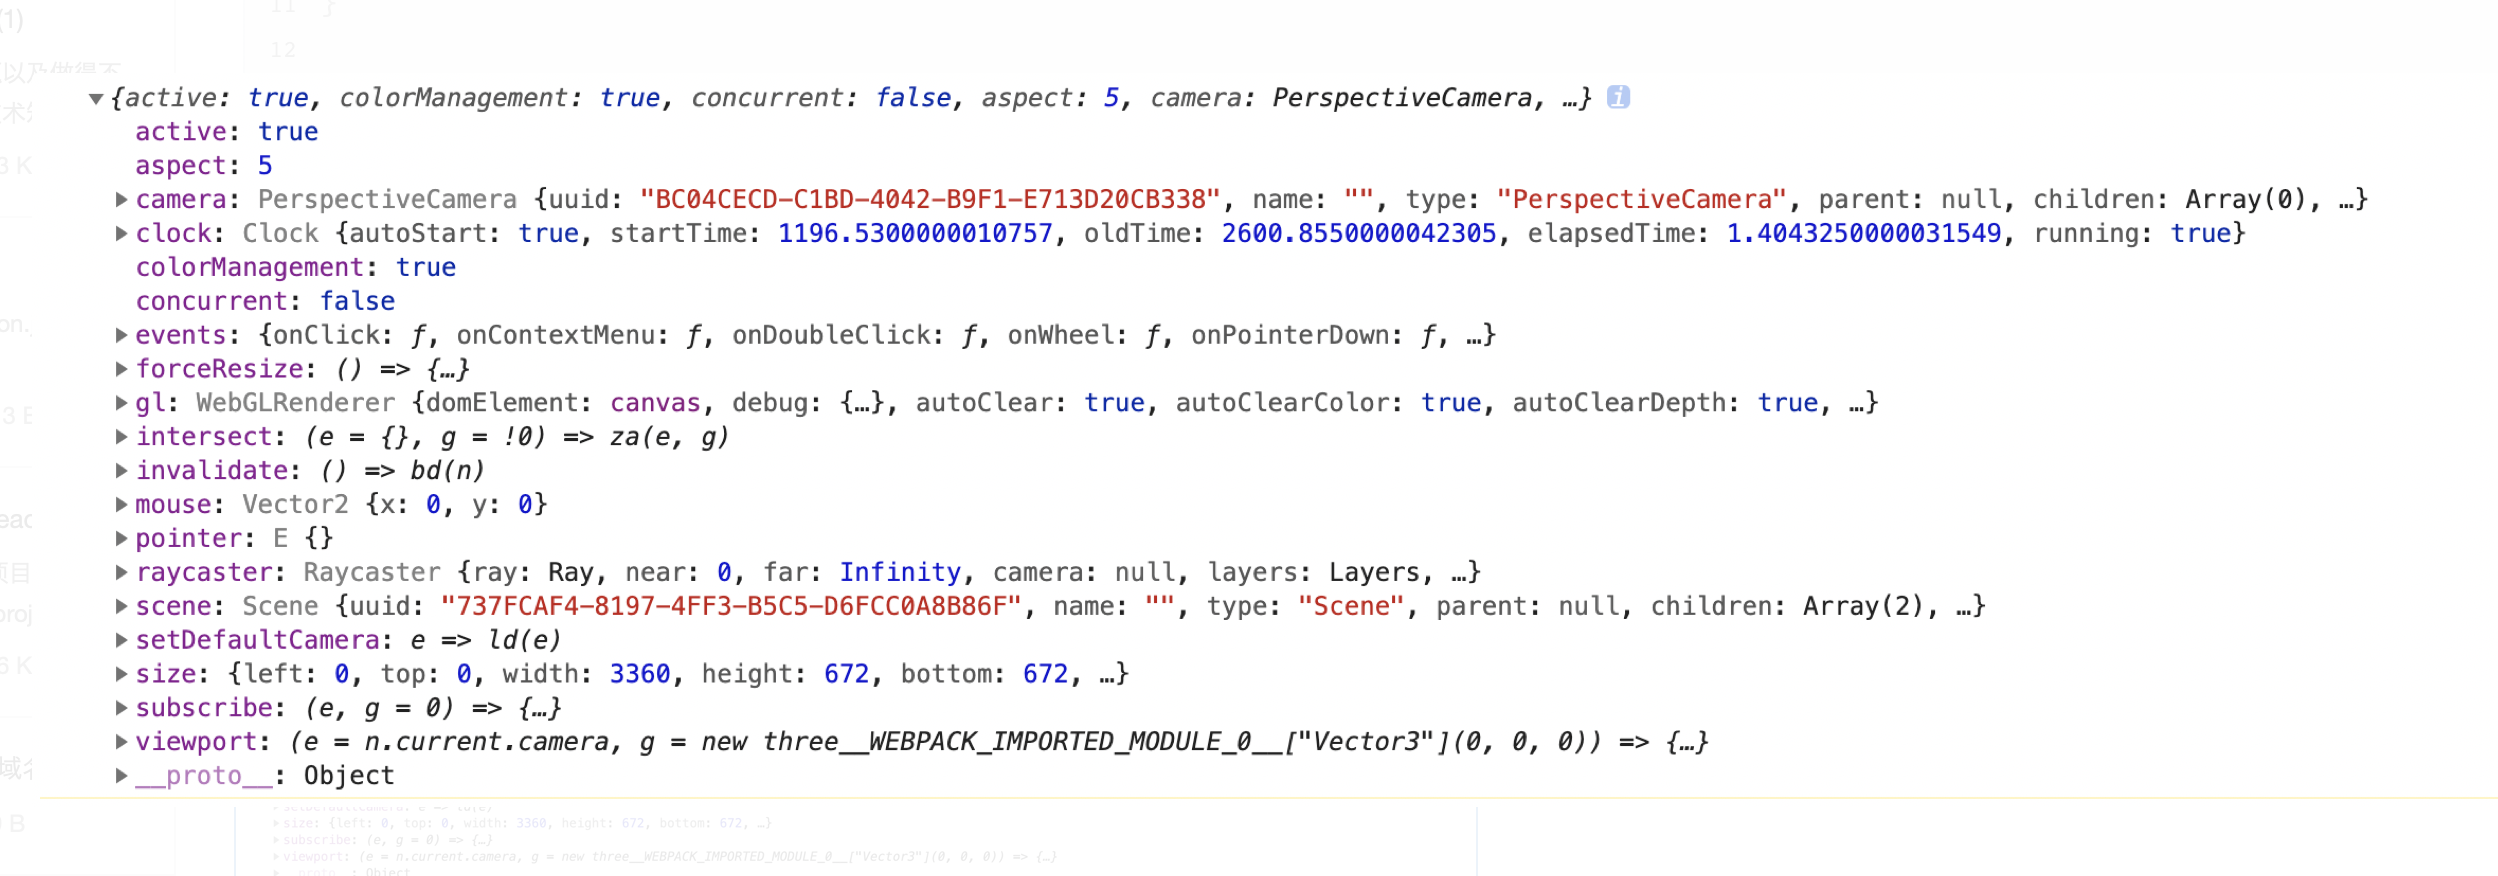
const { camera, gl } = useThree()//通过useThree获取camera, gl
const ref = useRef()
useFrame(() => ref.current.update())
return <orbitControls ref={ref} args={[camera, gl.domElement]} />
}

// 实现球体发光
// @param color 颜色的r,g和b值,比如:“123,123,123”;
// @returns {Element} 返回canvas对象
function generateSprite(color) {
var canvas = document.createElement('canvas');
canvas.width = 16;
canvas.height = 16;
var context = canvas.getContext('2d');
var gradient = context.createRadialGradient(canvas.width / 2, canvas.height / 2, 0, canvas.width / 2, canvas.height / 2, canvas.width / 2);
gradient.addColorStop(0, 'rgba(' + color + ',1)');
gradient.addColorStop(0.2, 'rgba(' + color + ',1)');
gradient.addColorStop(0.4, 'rgba(' + color + ',.6)');
gradient.addColorStop(1, 'rgba(0,0,0,0)');
context.fillStyle = gradient;
context.fillRect(0, 0, canvas.width, canvas.height);
return canvas;
}


//太阳
function Sun() {
const [texture] = useLoader(THREE.TextureLoader, [sunIMage])//useLoader调用加载器
const sun = useRef()
useFrame(() => sun.current.rotation.y -= 0.01)//useFrame执行动画
return (
<group ref={sun}>
<mesh>
<sphereGeometry args={[30, 30, 30]} />
<meshBasicMaterial map={texture} />
</mesh>
<sprite scale={[90, 90, 90]}>
<spriteMaterial
map={new THREE.CanvasTexture(generateSprite('253,111,7'))}
blending={THREE.AdditiveBlending}
/>
</sprite>
</group>

)
}

//返回行星轨道的组合体
//@param starLiteSize 行星的大小
//@param starLiteRadius 行星的旋转半径
//@param rotation 行星组合体的x, y, z三个方向的旋转角度
//@param speed 行星运动速度
//@param imgUrl 行星的贴图
//@param scene 场景
//@returns { { satellite: THREE.Mesh, speed: *} } 卫星组合对象; 速度
function initSatellite({ starLiteSize, starLiteRadius, speed, imgUrl, rotation = { x: -Math.PI * 0.42, y: Math.PI * 0.02, z: 0 } }) {
const [texture] = useLoader(THREE.TextureLoader, [imgUrl])
const ref = useRef();
useFrame(() => ref.current.rotation.z -= speed)
return (
<group ref={ref} rotation={[rotation.x, rotation.y, rotation.z]} >
<mesh >
<ringGeometry args={[starLiteRadius, starLiteRadius + 0.1, 50]}/>
<meshBasicMaterial />
</mesh>
<mesh >
<sphereGeometry args={[1, 1, 1]} />
<meshLambertMaterial />
</mesh>
<sprite
scale={[starLiteSize, starLiteSize, starLiteSize]}
position={[starLiteRadius, 0, 0]}
>
<spriteMaterial map={texture}/>
</sprite>
</group>
)
}

//返回行星
function StarLites(params) {
return(
<>
{starLitesConfig.map((item,index) => initSatellite(item))}
</>
)
}

export default function Deom(params) {
return(
<Canvas
tabIndex={"none"}
camera={{ position: [0, 0,1000], fov: 20,near: 0.1,far: 2000 }}
style={{ background: `url(${bgImage}) 50% 50%`, with: "100vw", height: "100vh", outline: "none"}}
>
<Controls />
<Suspense fallback={null}>
<Sun />
<StarLites />
</Suspense>
</Canvas>
)

}

三、了解更多

模型下载sketchfab
预览gltf模型gltf-viewer
react-three-fiber git