一、介绍
Nest 是一个用于构建高效,可扩展的Node.js服务器端应用程序的框架。它使用渐进式JavaScript,内置并完全支持TypeScript(但仍然允许开发人员使用纯 JavaScript编写代码)并结合了OOP(面向对象编程),FP(函数式编程)和FRP(函数式响应编程)的元素。在底层,Nest使用强大的 HTTP Server 框架,如 Express(默认)和Fastify。Nest在这些框架之上提供了一定程度的抽象,同时也将其API直接暴露给开发人员。这样可以轻松使用每个平台的无数第三方模块。
二、安装与启动
1.全局安装脚手架
1
2
3
| ```
npm i -g @nestjs/cli
```
|
2.创建项目
1
2
| cd /dirName
nest new project-name
|
3.启动项目
默认启动3000端口,可在主文件main.ts修改端口
1
2
| cd nest-project
npm run start
|
4.快速打开项目
小技巧:命令行快速打开vscode
- 手动打开vscode
- command + shift + p 打开命令面板(或者点击菜单栏 查看>命令面板)
- 输入shell(选择”install code command in PATH”)
- 打开终端 进入需要用IDE打开的文件夹 输入”code .”
三、基本使用
1.快速生成module,service,controller模块文件
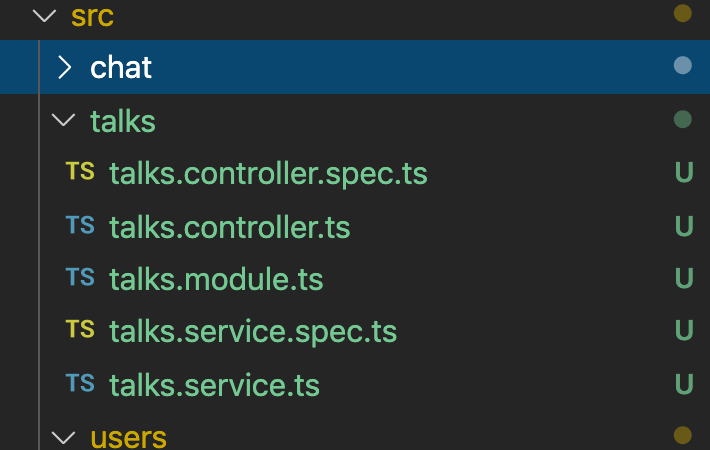
- folderName是在src下新生成的目录名
- module.ts生成后会自动导入app.module.ts文件
- 先生成module.ts,后面生成的controller.ts和service.ts会自动导入module.ts
- 详细内容请看CLI
1
2
3
| nest g mo -p src ${folderName}
nest g co -p src ${folderName}
nest g service -p src ${folderName}
|
2.小技巧(写自己一段生成三个模块文件的代码,写来玩玩)
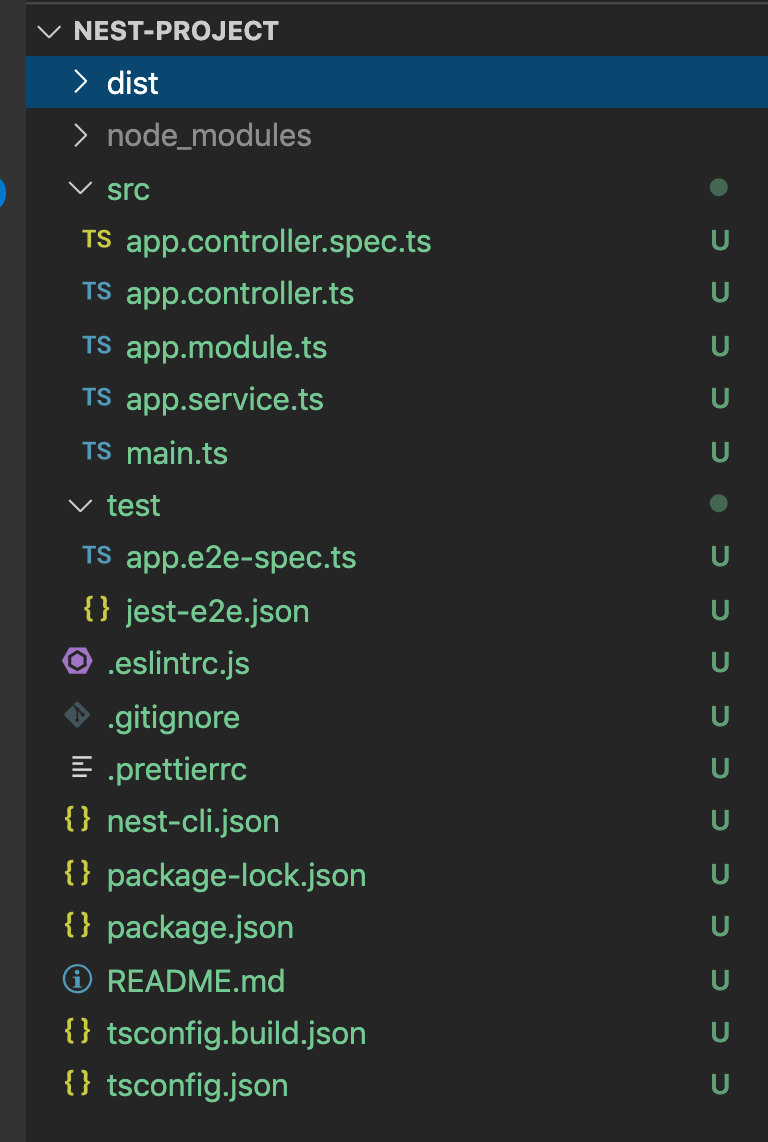
新建一个文件config文件夹,把createFolder.js放进去
createFolder.js
1
2
3
4
5
6
7
8
9
10
11
12
13
14
15
16
17
18
19
20
21
22
23
|
const child_process = require('child_process');
if (process.argv.length === 2 ) {
throw new Error(
"名称不能为空"
);
}
const folderName = process.argv[2];
const cmd = `nest g mo -p src ${folderName} && nest g co -p src ${folderName} && nest g service -p src ${folderName}`
child_process.exec(cmd, function (error) {
if (error !== null) {
console.log('exec error: ' + error);
}
else console.log("finished");
})
package.json配置
"scripts":{
"createFolder": "node config/createFolder.js"
}
|
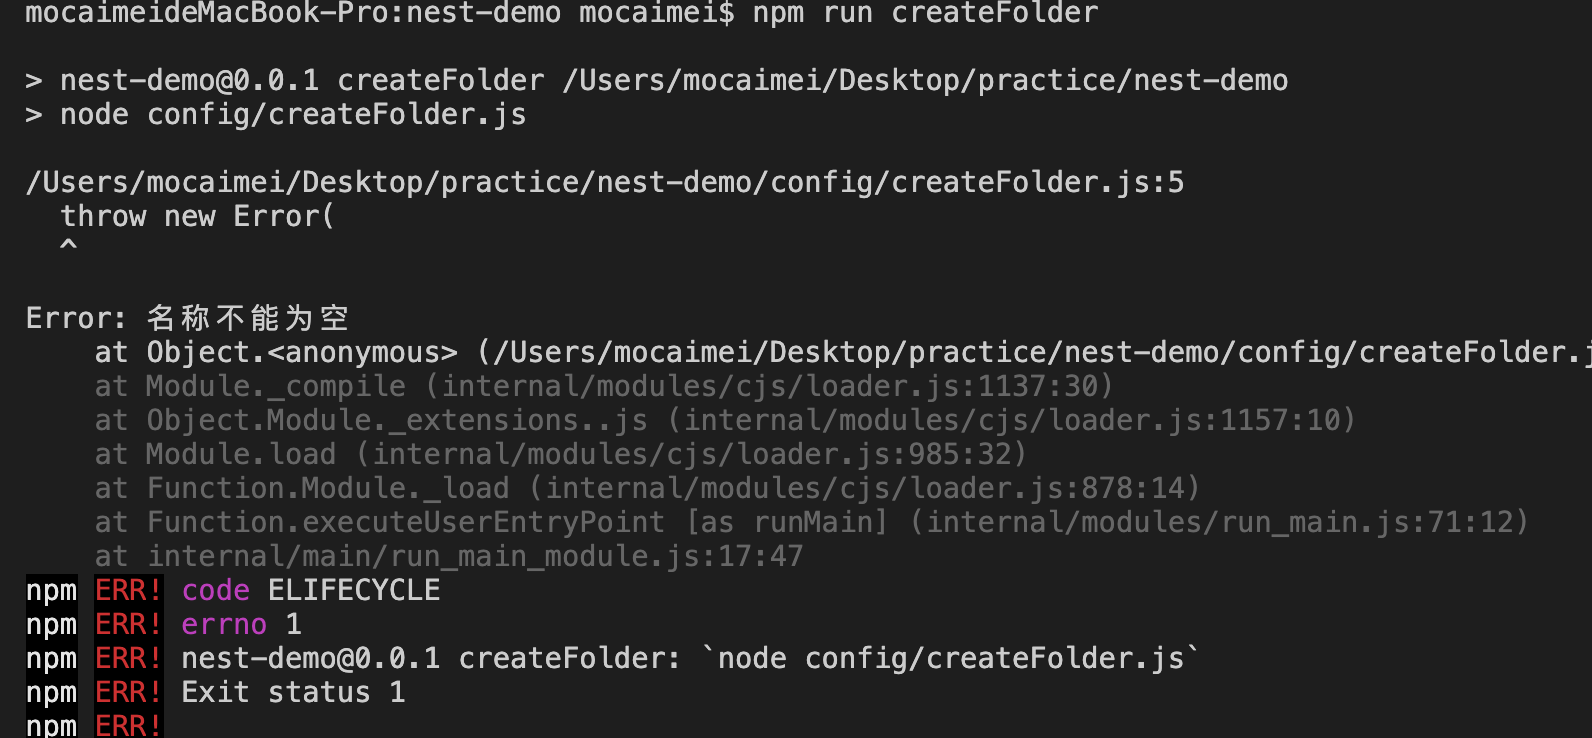
终端执行
1
| npm run createFolder talks
|
执行结果
抛出异常
3.Controller控制器
控制器负责处理传入的 请求 和向客户端返回响应;
控制器所需的 @Controller()装饰器及请求方法装饰器如@Get(),@Post()可声明路由;
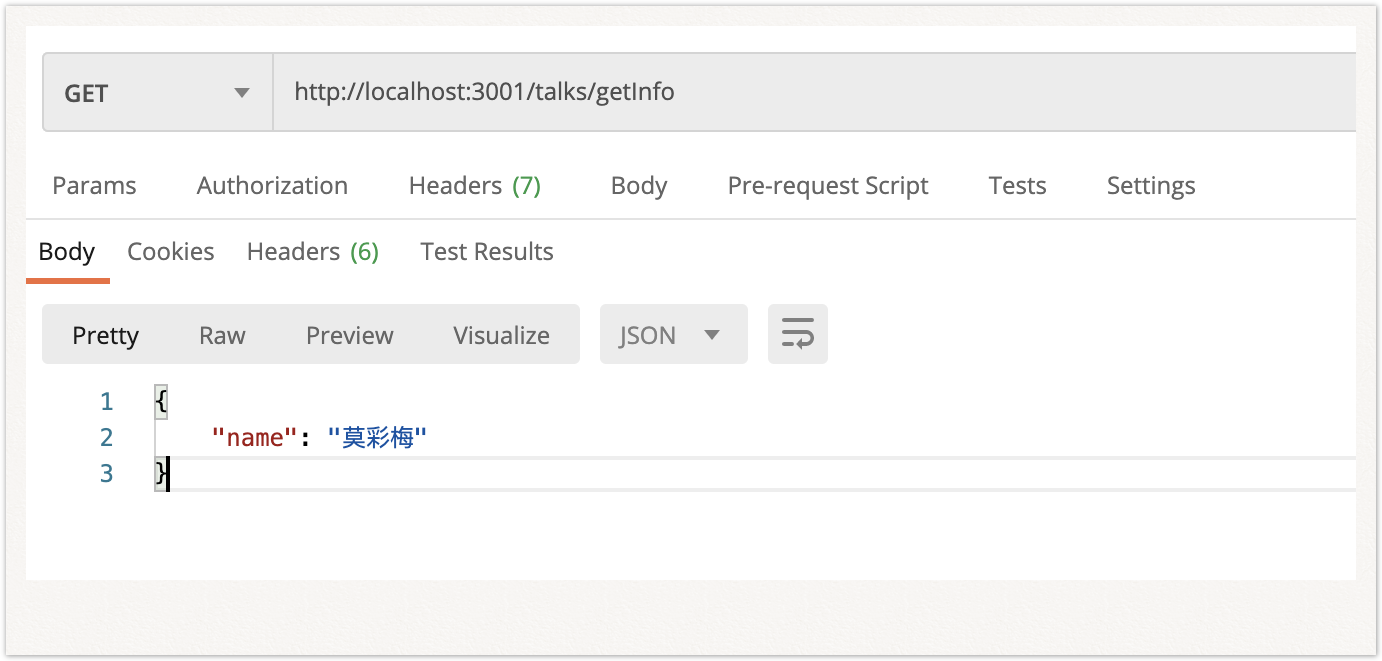
如下面例子,@Controller(‘talks’)与@Get(“getInfo”)会为请求生成路由映射 /talks/getInfo
talks.controller.ts
1
2
3
4
5
6
7
8
9
10
| import { Controller, Get } from '@nestjs/common';
@Controller('talks')
export class TalksController {
@Get("getInfo")
getInfo(): any {
return { "name": "莫彩梅" }
}
}
|
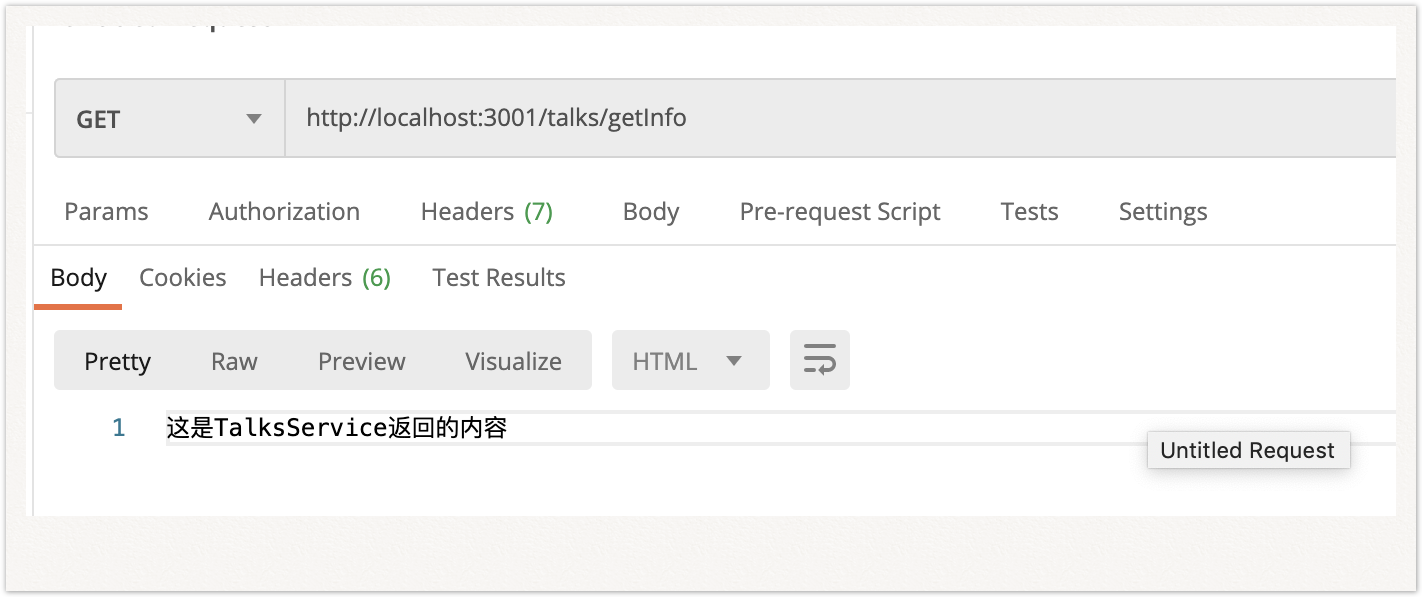
4.Providers(service)提供者
Controller处理请求,把复杂的任务交给Providers处理,例如数据处理,数据库操作等。
talks.service.ts
1
2
3
4
5
6
7
8
9
| import { Injectable } from '@nestjs/common';
@Injectable()
export class TalksService {
getInfo():any{
return "这是TalksService返回的内容"
}
}
|
在Controller中使用
talks.controller.ts
1
2
3
4
5
6
7
8
9
10
11
12
| import { Controller, Get } from '@nestjs/common';
import { TalksService } from "./talks.service"
@Controller('talks')
export class TalksController {
@Get("getInfo")
getInfo(): any {
return (new TalksService()).getInfo()
}
}
|
或者你可以将TalksService实例私有化
talks.controller.ts
1
2
3
4
5
6
7
8
9
10
11
12
| import { Controller, Get } from '@nestjs/common';
import { TalksService } from "./talks.service"
@Controller('talks')
export class TalksController {
constructor(private readonly talksService: TalksService){}
@Get("getInfo")
getInfo(): any {
return this.talksService.getInfo()
}
}
|
结果:
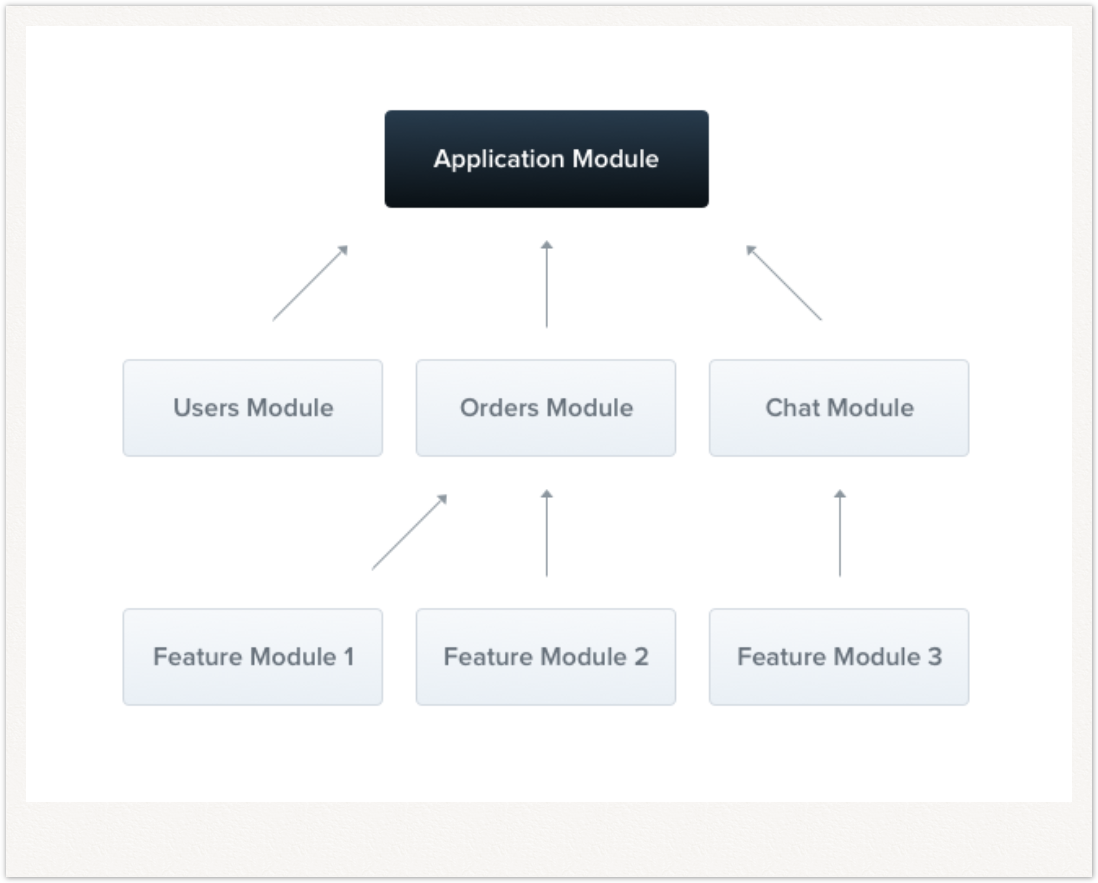
5.Module模块
模块构成应用程序
(1)根模块
根模块(必须),组织各种模块(如功能模块);
一般用cli命令生成的模块会自动导入到根模块中
app.module.ts
1
2
3
4
5
6
7
8
9
10
11
12
13
| import { Module } from '@nestjs/common';
import { UsersModule } from './users/users.module';
import { ChatModule } from './chat/chat.module';
import { TalksModule } from './talks/talks.module';
@Module({
imports: [
UsersModule,
ChatModule,
TalksModule,
],
})
export class AppModule {}
|
(2)功能模块
负责处理某种功能的模块,例如上面例子的talks模块就算一个功能模块了吧;
一般用cli命令生成的模块同个目录下的controllers,providers(service)会自动导入到模块module文件中
1
2
3
4
5
6
7
8
9
| import { Module } from '@nestjs/common';
import { TalksController } from './talks.controller';
import { TalksService } from './talks.service';
@Module({
controllers: [TalksController],
providers: [TalksService]
})
export class TalksModule {}
|
四、知识点
1.DTO(Data Transfer Object)数据传输对象
A DTO is an object that defines how the data will be sent over the network
展示层与服务层之间的数据传输对象,就是调用接口时传过来的数据
(1)users.dto.ts(定义数据传输对象)
1
2
3
4
5
6
| export class UserInfoDto{
readonly name: string;
readonly lasttName: string;
readonly age: number;
readonly sex: string;
}
|
(2)users.controller.ts(在controller中使用)
1
2
3
4
5
6
7
8
9
10
11
12
13
| import { Post, Body } from '@nestjs/common';
import { UserInfoDto } from './dto/users.dto';
@Controller('users')
export class UsersController {
@Post('add')
async create(@Body() userInfoDto: UserInfoDto): string {
const { name, age } = userInfoDto;
console.log(name, age)
return ''
}
}
|
2.管道
拦截方法的调用参数,在执行方法前对参数进行转换或者验证
管道有两个类型:
转换:管道将输入数据转换为所需的数据输出
验证:对输入数据进行验证,如果验证成功继续传递; 验证失败则抛出异常;
Nest内置管道
1
2
3
4
5
| ValidationPipe
ParseIntPipe
ParseBoolPipe
ParseArrayPipe
ParseUUIDPipe
|
全局管道
用useGlobalPipes()方法全局管道,用于整个应用程序中的每个路由处理器
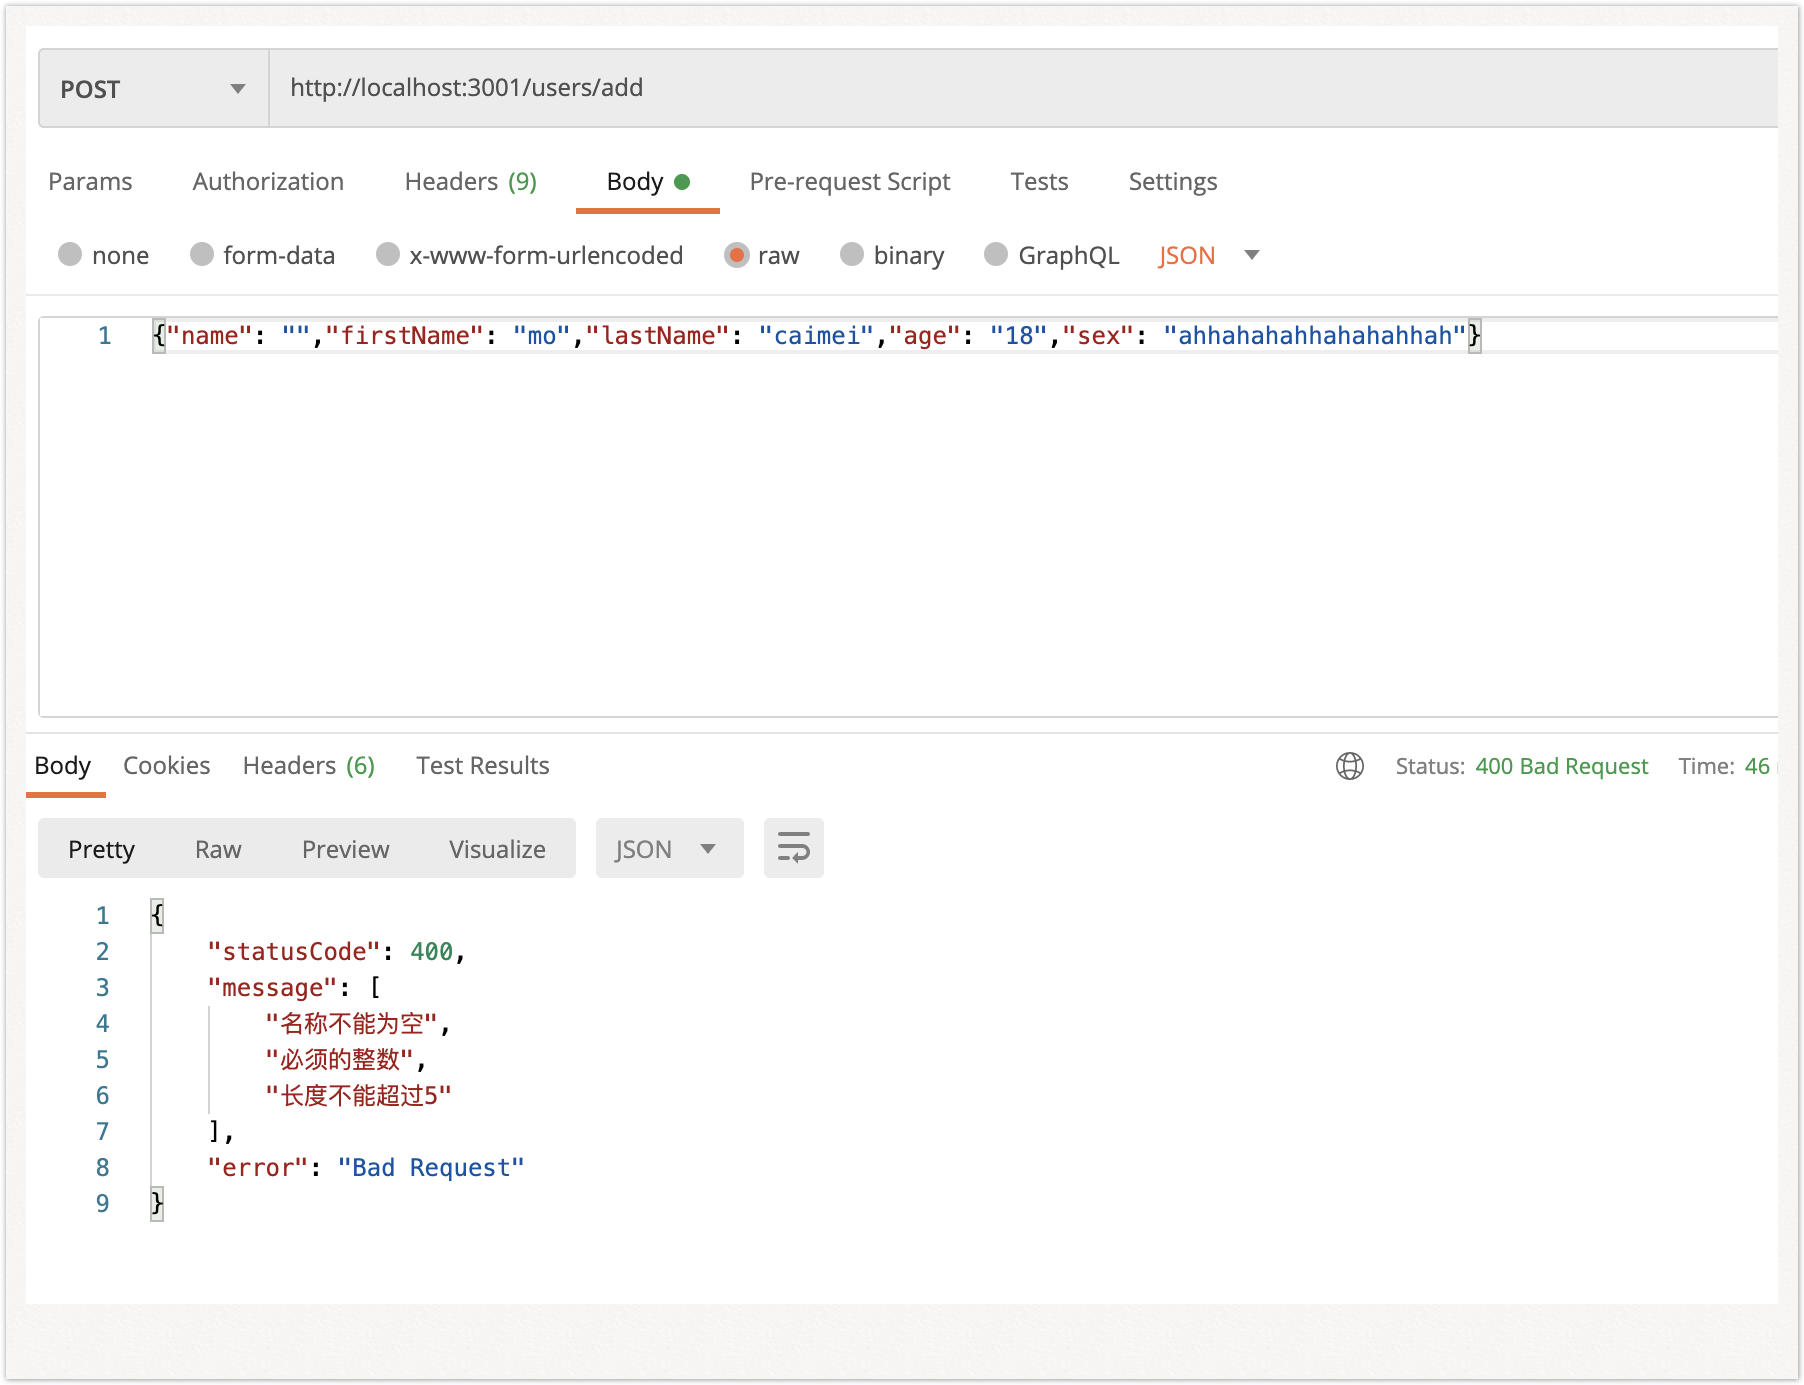
3.数据校验
class-validator对于接收到的数据进行判断校验(是否为空、类型是否正确、长度等等)
(1)安装依赖包
1
| npm i --save class-validator class-transformer
|
ValidationPipe 需要同时安装 class-validator 和 class-transformer 包)
(2)users.dto.ts
1
2
3
4
5
6
7
8
9
10
11
12
13
14
15
16
17
18
| import { IsNotEmpty, IsString, IsInt, MaxLength } from 'class-validator';
export class UserInfoDto{
@IsNotEmpty({ message: '名称不能为空' })
readonly name: string;
@IsString({ message: '必须的字符类型' })
readonly firstName: string;
@IsString({ message: '必须的字符类型' })
readonly lastName: string;
@IsInt({ message: '必须的整数' })
readonly age: number;
@MaxLength(5, {message: '长度不能超过5' })
readonly sex: string;
}
|
(3)局部验证
将管道实例绑定到路由参数装饰器@Body
users.controller.ts
1
2
3
4
5
6
7
8
9
10
11
12
13
| import { Post, Body, ValidationPipe } from '@nestjs/common';
import { UserInfoDto } from './dto/users.dto';
@Controller('users')
export class UsersController {
@Post('add')
async create(@Body(new ValidationPipe()) userInfoDto: UserInfoDto): string {
const { name, age } = userInfoDto;
console.log(name, age)
return ''
}
}
|
(4)全局验证
设置全局管道,用于整个应用程序、每个控制器和每个路由处理程序。
无需再局部绑定 。
main.ts
1
2
3
4
5
6
7
8
9
10
11
12
13
| import { NestFactory } from '@nestjs/core';
import { AppModule } from './app.module';
import { Logger, ValidationPipe } from '@nestjs/common';
async function bootstrap() {
const app = await NestFactory.create(AppModule);
app.useGlobalPipes(new ValidationPipe());
await app.listen(3001,() => {
Logger.log('服务已经启动,请访问localhost:3000');
});
}
bootstrap();
|
局部与全局验证结果一致:
五、数据库
1.安装ORM库
ORM即对象-关系映射,可以不用写sql,直接操作数据库;
Nest 使用TypeORM是因为它是 TypeScript 中最成熟的对象关系映射器( ORM )。因为它是用 TypeScript 编写的,所以可以很好地与 Nest 框架集成。
1
| npm install --save @nestjs/typeorm typeorm mysql
|
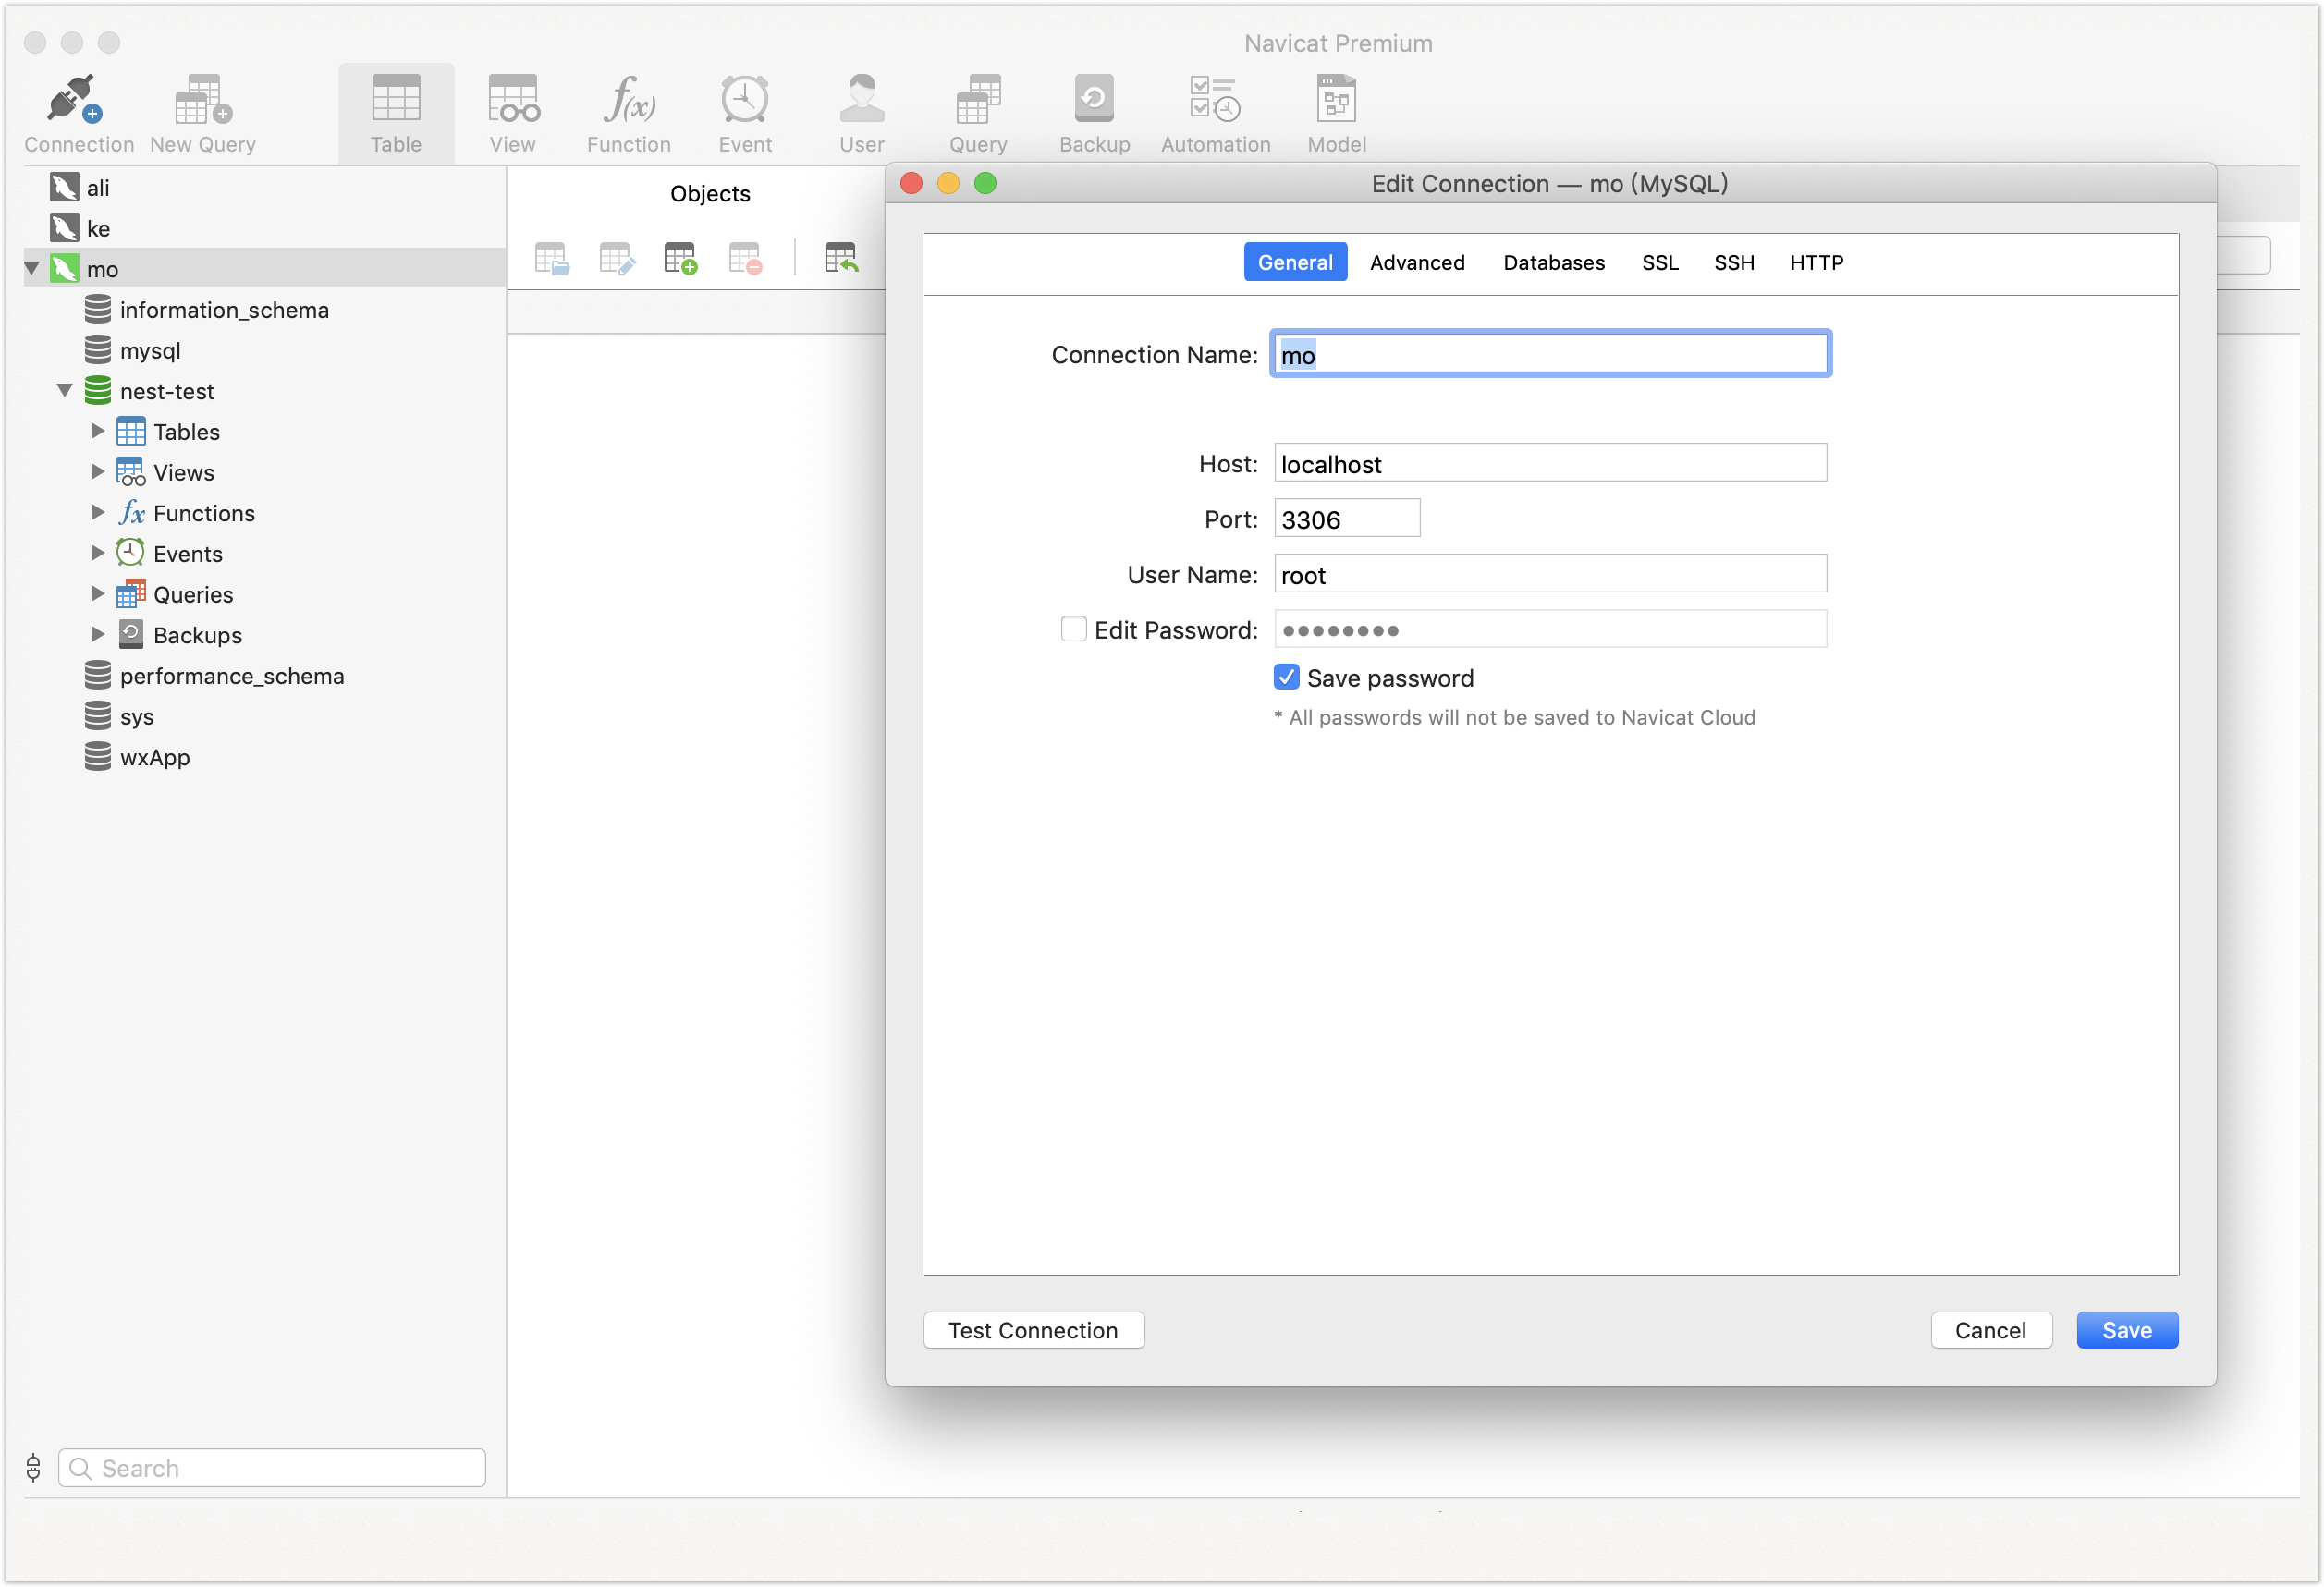
2.创建ormconfig.json
配置你要连接的数据库信息
1
2
3
4
5
6
7
8
9
10
11
12
| {
"type": "mysql",
"host": "localhost",
"port": 3306,
"username": "root",
"password": "*******",
"database": "nest-test",
"entities": [
"dist/**/*.entity{.ts,.js}"
],
"synchronize": true
}
|
3.创建实体类
实体类一般都与数据库中的表结构一一对应
表→类
字段→属性
(1)@Entity()
对应一个表,如果实体类名和表名不一致,可以在@Entity()注解中传入表名字段。
(2)@Column()
可以传入一个Object,可以指定字段的类型、大小等待属性
1
| @Column({ type: "varchar", width: 200 });
|
如果想要实体名称与表字段名称不同, 设置name属性
user.entity.ts
1
2
3
4
5
6
7
8
9
10
11
12
13
14
15
16
17
18
19
20
21
22
23
24
25
26
27
| import { Entity, Column, PrimaryGeneratedColumn, Timestamp } from 'typeorm';
@Entity()
export class User {
@PrimaryGeneratedColumn()
id: number;
@Column()
name: string;
@Column()
firstName: string;
@Column()
lastName: string;
@Column()
age: number;
@Column()
sex: string;
@Column({ default: true })
isActive: boolean;
updateAt: Timestamp;
}
|
4.模块注入
(1)单个数据库
TypeOrmModule.forRoot()在根模块使用,默认注入默认数据库连接模块
TypeOrmModule.forFeature()在子模块使用,定义应在当前范围中注册的存储库
app.module.ts
1
2
3
4
5
6
7
8
9
10
11
| import { Module } from '@nestjs/common';
import { UsersModule } from './users/users.module';
import { TypeOrmModule } from '@nestjs/typeorm';
@Module({
imports: [
UsersModule,
TypeOrmModule.forRoot(),
],
})
export class AppModule {}
|
users.module.ts
1
2
3
4
5
6
7
8
9
10
11
12
13
| import { Module } from '@nestjs/common';
import { UsersController } from './users.controller';
import { UsersService } from './users.service';
import { TypeOrmModule } from '@nestjs/typeorm';
import { User } from './user.entity';
@Module({
imports: [
TypeOrmModule.forFeature([User])
],
controllers: [UsersController],
providers: [UsersService]
})
|
(2)连接多个数据库
1.直接用ormconfig.json好像有点问题,因为forRoot接收的参数是TypeOrmModuleOptions,需要把数据库配置传完整,单单传name不能区分。不传的时候会读取默认的配置,详细可以看nest文档中的数据库描述
2.记得用name区分
app.module.ts
1
2
3
4
5
6
7
8
9
10
11
12
13
14
15
16
17
18
19
20
21
22
23
24
25
26
27
28
29
30
31
32
33
34
| import { Module } from '@nestjs/common';
import { UsersModule } from './users/users.module';
import { TypeOrmModule } from '@nestjs/typeorm';
import { Connection } from 'typeorm';
const ormconfig: any = {
"type": "mysql",
"host": "localhost",
"port": 3306,
"username": "root",
"password": "*******",
"database": "nest-test",
"entities": [
"dist/**/*.entity{.ts,.js}"
],
"synchronize": true
}
@Module({
imports: [
UsersModule,
TypeOrmModule.forRoot(ormconfig),
TypeOrmModule.forRoot({
...ormconfig,
name: "connection2",
database: "nest-test2"
}),
],
})
export class AppModule {
constructor(private readonly connection: Connection) { }
}
|
users.module.ts
用name区分注册实体到哪个连接,使用哪个库
1
2
3
4
5
6
7
8
9
10
11
12
13
14
| import { Module } from '@nestjs/common';
import { UsersController } from './users.controller';
import { UsersService } from './users.service';
import { TypeOrmModule } from '@nestjs/typeorm';
import { User } from './user.entity';
@Module({
imports: [
TypeOrmModule.forFeature([User]),
TypeOrmModule.forFeature([User],'connection2')
],
controllers: [UsersController],
providers: [UsersService]
})
|
5.在service中使用,一些基本的数据库操作
@InjectRepository(User,’connection2’)装饰器—注入存储库,将 UsersRepository 注入到 UsersService中
使用哪个实体,哪个存储库
users.service.ts
1
2
3
4
5
6
7
8
9
10
11
12
13
14
15
16
17
18
19
| import { Injectable } from '@nestjs/common';
import { UserInfo } from "./interfaces/users.interface";
import { InjectRepository } from '@nestjs/typeorm';
import { Repository } from 'typeorm';
import { User } from './user.entity';
import { UserInfoDto } from "./dto/users.dto"
@Injectable()
export class UsersService {
constructor(
@InjectRepository(User,'connection2')
private usersRepository: Repository<User>,
){}
private readonly users: UserInfo[] = []
async create(userInfoDto: UserInfoDto): Promise<User> {
return await this.usersRepository.save(userInfoDto);
}
}
|
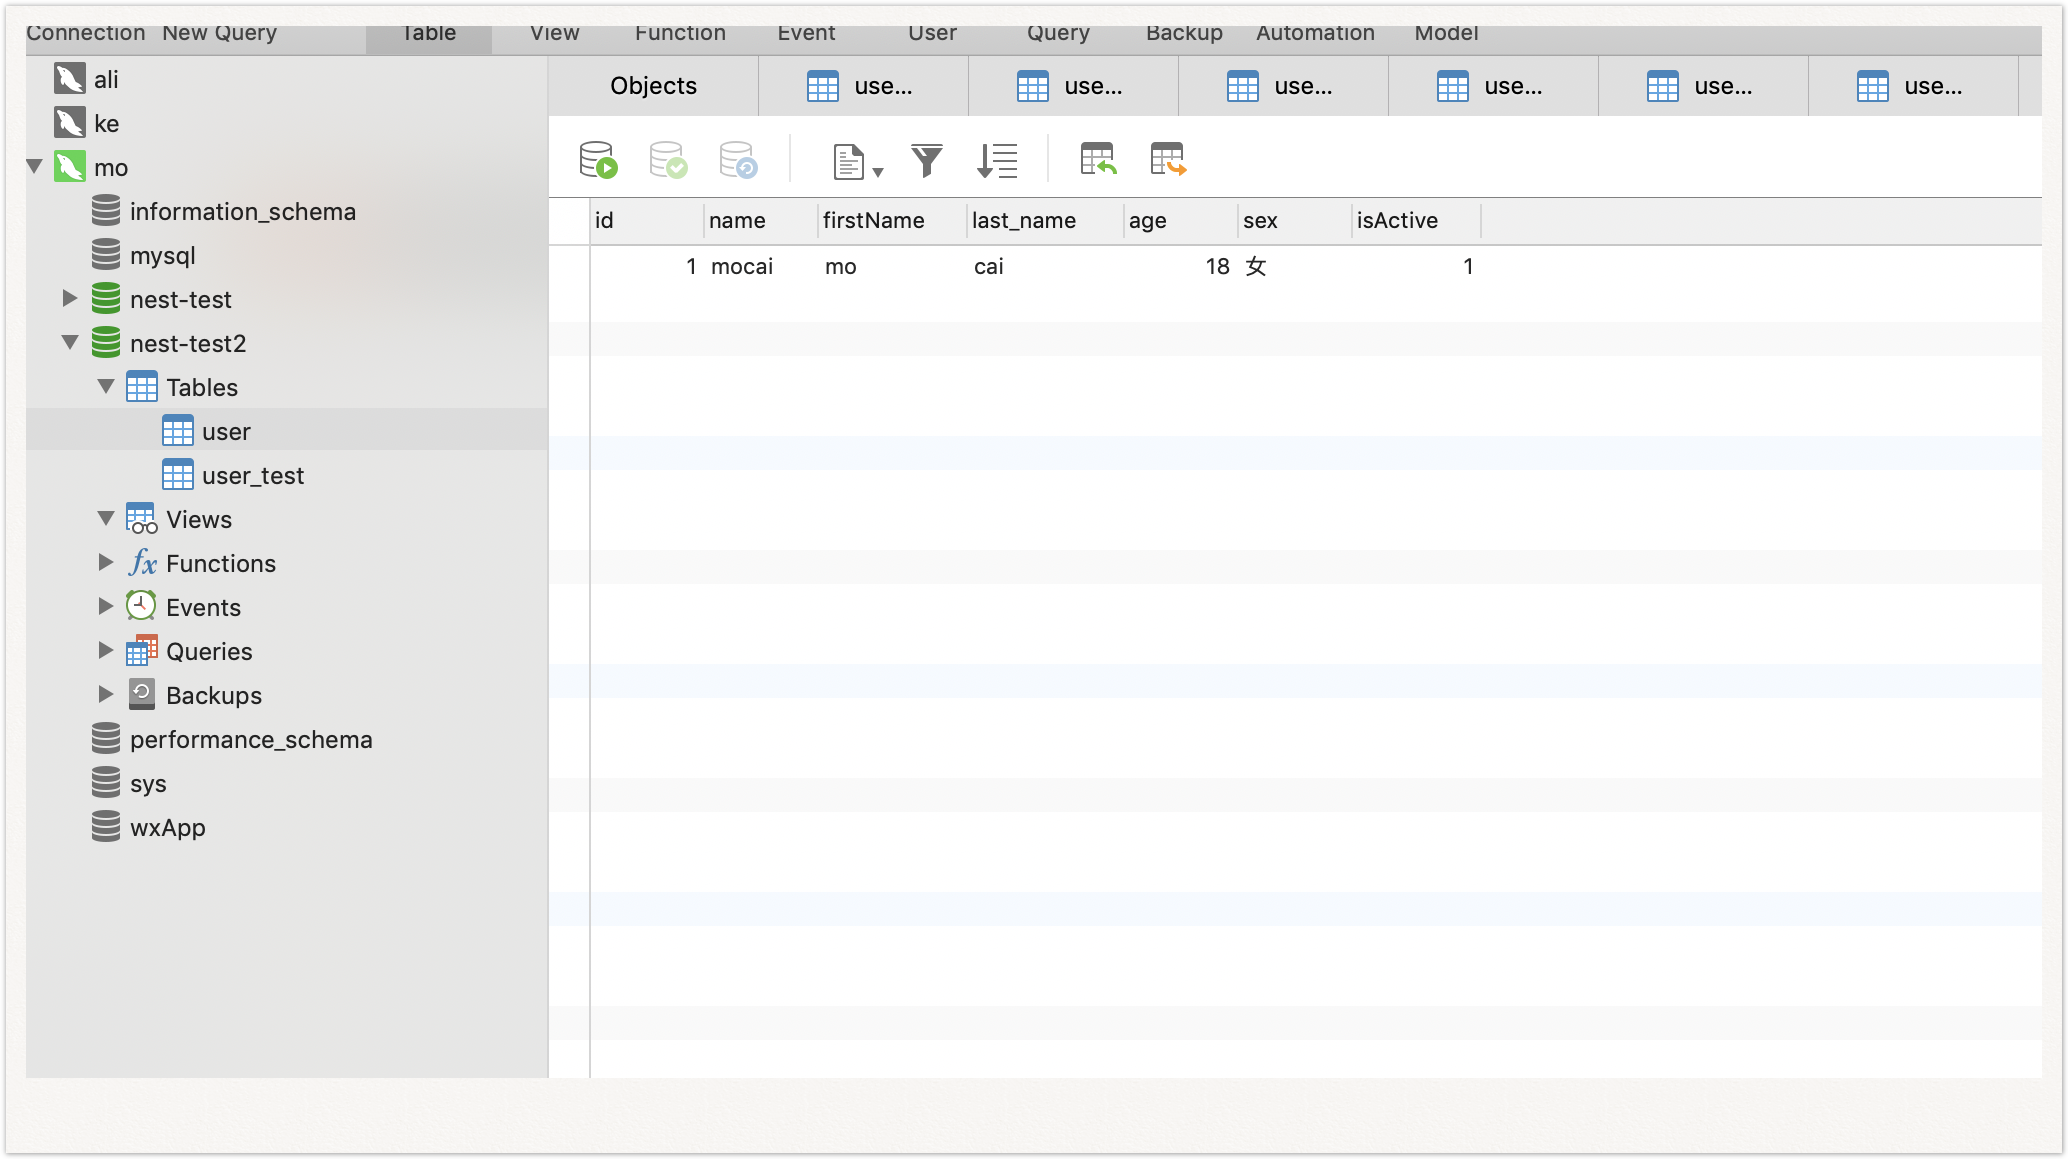
(1)新增数据
typeorm封装好的save方法保存数据假如数据库没有user表,会帮你创建一个。
1
2
3
4
5
6
7
8
9
10
11
12
13
14
|
async create(userInfoDto: UserInfoDto): Promise<User> {
return await this.usersRepository.save(userInfoDto);
}
@Post('add')
async create(@Body() userInfo: UserInfoDto): Promise<any> {
return this.usersService.create(userInfo);
}
|
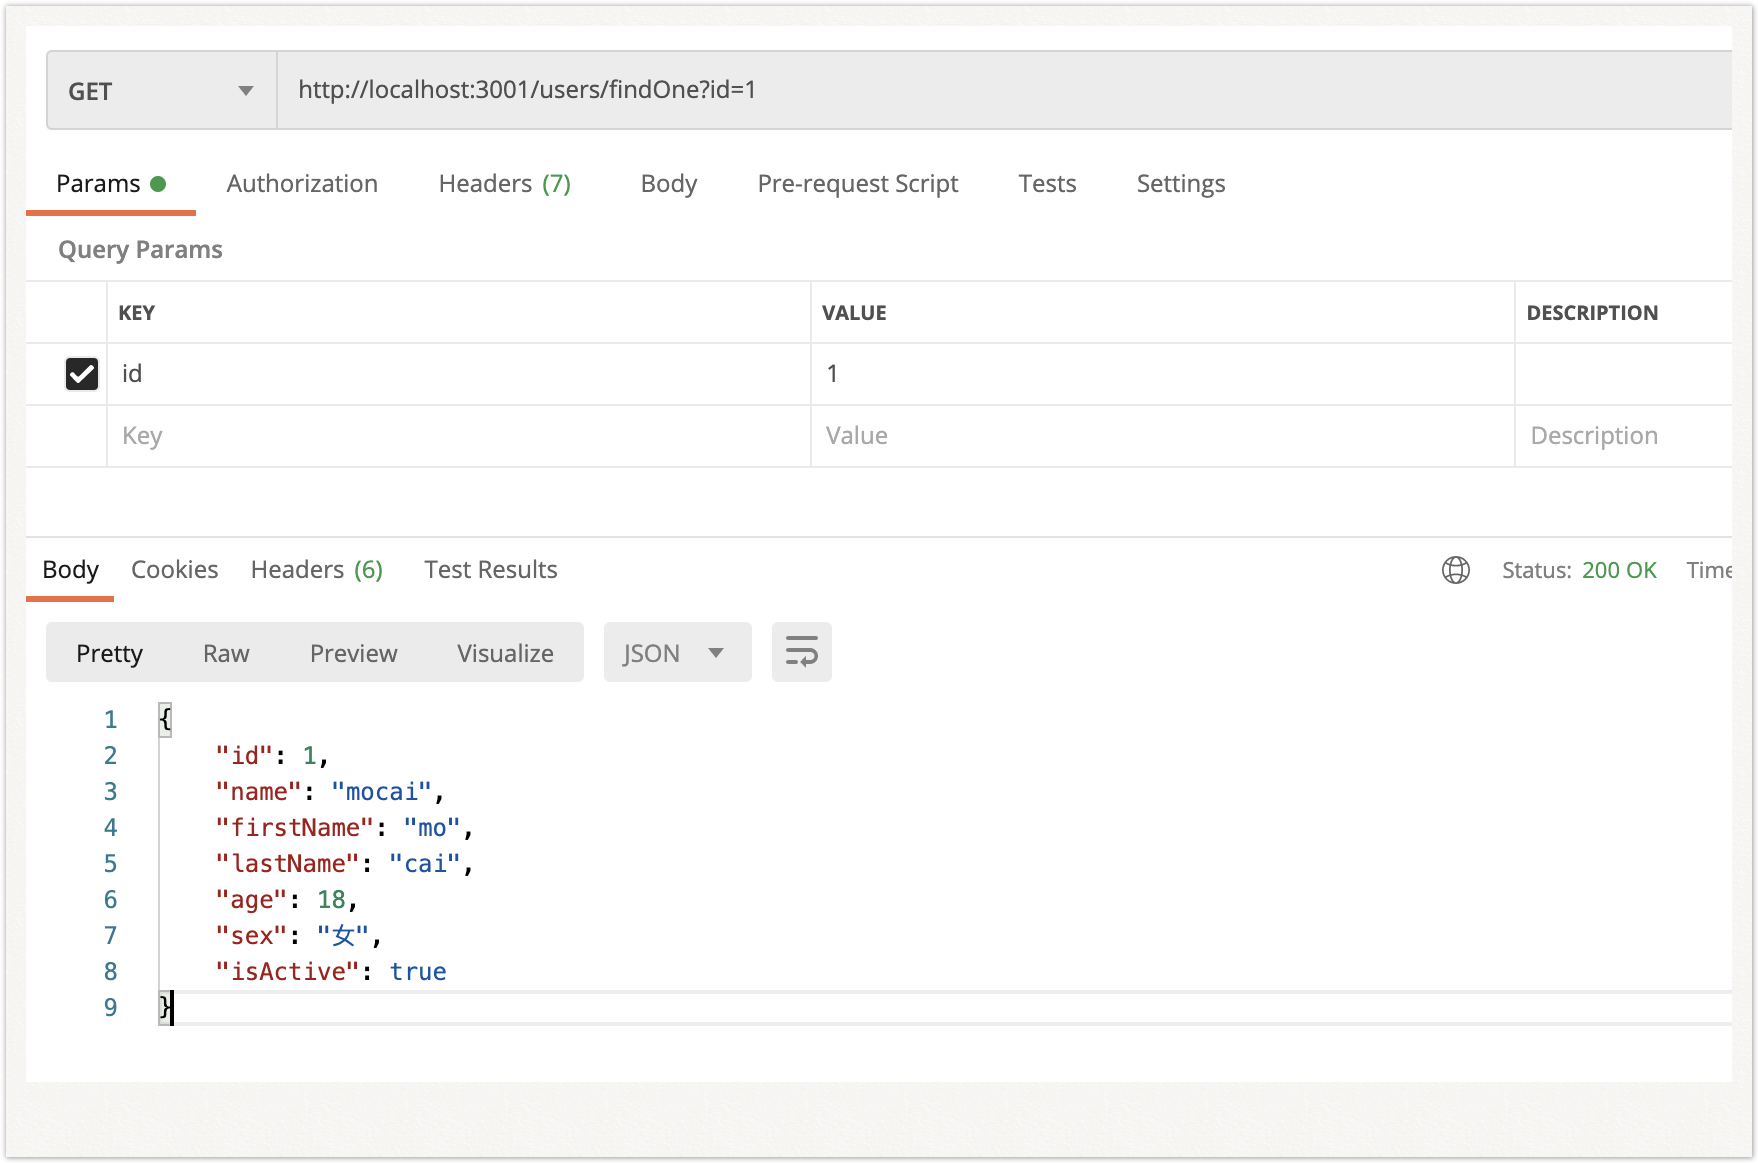
(2)查找一条数据findOne
1
2
3
4
5
6
7
8
9
10
11
|
async findOne(id): Promise<User> {
return await this.usersRepository.findOne({id});
}
@Get('findOne')
async findOne(@Query('id') id): Promise<any> {
return this.usersService.findOne(id);
}
|
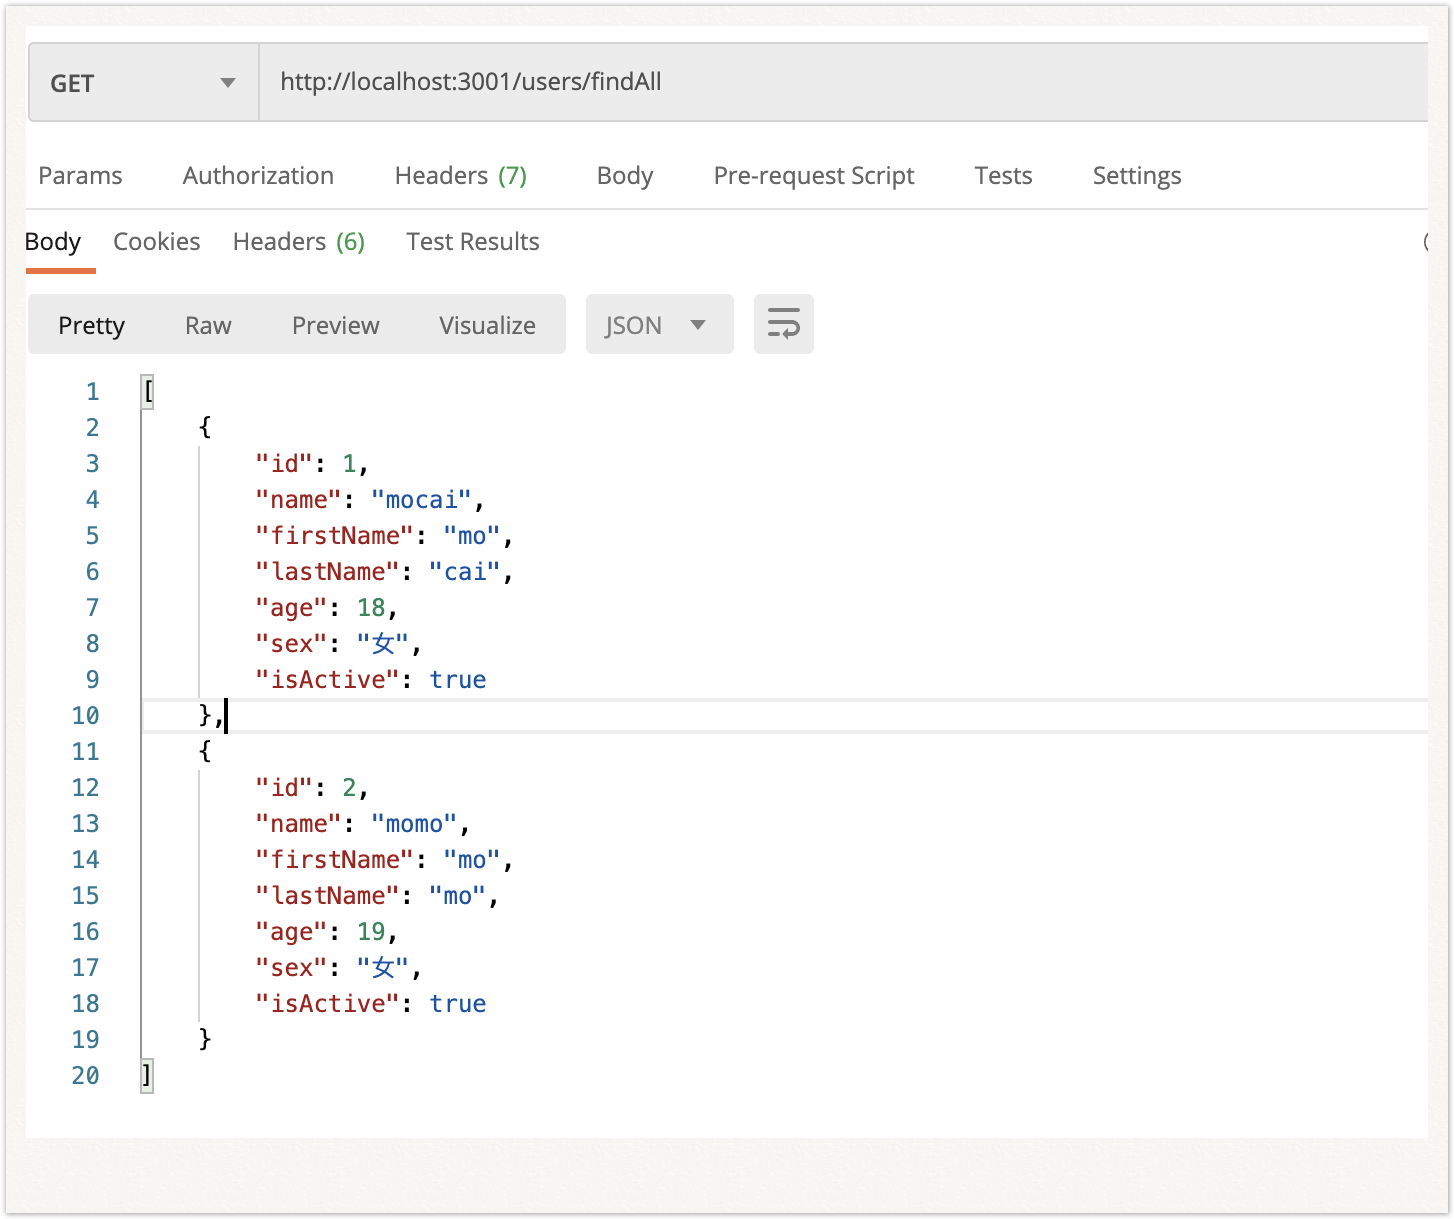
(3)查找全部数据find
1
2
3
4
5
6
7
8
9
10
11
|
findAll(): Promise<User[]> {
return this.usersRepository.find();
}
@Get('findAll')
async findAll(): Promise<any> {
return this.usersService.findAll();
}
|
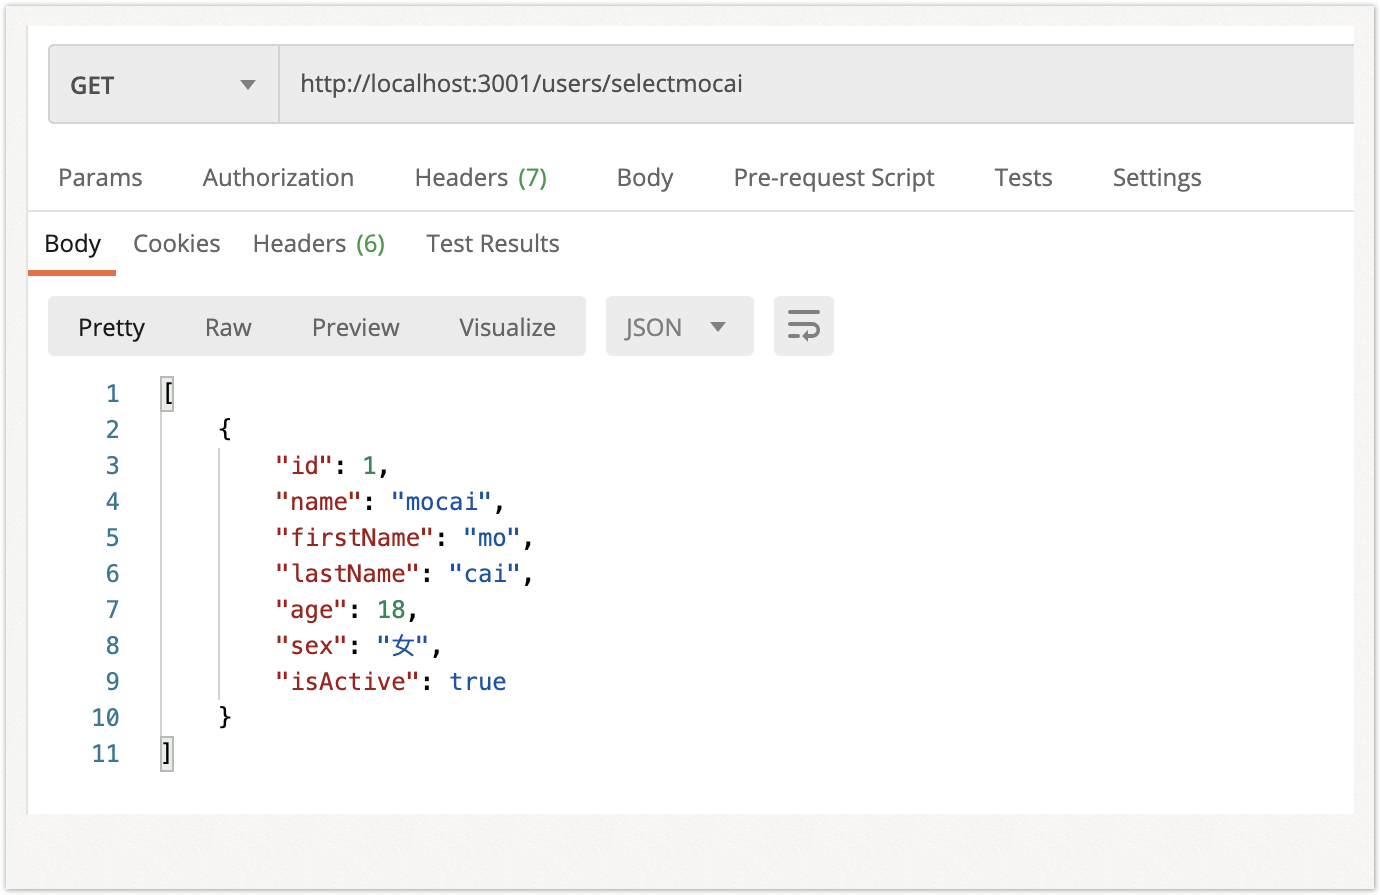
(4)QueryBuilder或query原生sql查询
1
2
3
4
5
6
7
8
9
10
|
selectmocai(): Promise<User[]> {
return this.usersRepository.query("SELECT * FROM user WHERE `name`='mocai'");
}
selectmocai(): Promise<User[]> {
return this.usersRepository.createQueryBuilder("user").where("name = 'mocai'").getMany();
}
|
(5)typeorm更多操作
中文文档 Git Homepage Nest/typeorm